As a developer at Smiirl, I have always want to make a Custom Counter who increase his number when I click on a physical button. So, for my own purpose I have started a project to connect a Custom Counter with a physical button.
Example : Number of my bad jokes in the last month ! (Yes, I do so much time …) But how to do this ?

PS: You can contact me if you want my help or my services ;) https://qlaffont.com
What I need ?
Actually, I have make this experimentation with :
A Smiirl Custom Counter of course ! (5 Digits : Buy Here / 7 Digits : Buy Here)
The Internet Button by Particle.io (Buy Here)
A server to run a Node.JS Application and a MongoDB Server
Wifi for sure !

I. Server Application with Node.JS
We need to setup an endpoint who will expose 3 things :
/counter/{counterID} : Return JSON with number to display
/counter/increase/{counterID} : Increment our Number
/counter/set/{counterID}/{number} : Set number to display on our counter
{param} -> Express Route Param
And the code of course :
package.json && do npm install
{

 "name": "smiirl-button-test",

 "version": "1.0.0",

 "description": "Smiirl Boutton Test",

 "main": "index.js",

 "author": "Quentin Laffont",

 "license": "ISC",

 "dependencies": {

  "body-parser": "^1.18.3",

  "express": "^4.16.3",

  "mongoose": "^5.2.1"

 }

}
index.js (Node.JS File to run)
"use strict";

//Import Dependencies
const express = require("express");
const bodyParser = require("body-parser");
const mongoose = require("mongoose");

//MODEL
const Schema = mongoose.Schema;

const CounterSchema = Schema({
    id_Counter: {
        type: String,
        required: true
    },
    nb: {
        type: Number,
        default: 1
    }
});

const Counter = mongoose.model("Counter", CounterSchema);

//MONGO
mongoose.connect(
    "mongodb://127.0.0.1:27017/smiirl-test-button",
    { useNewUrlParser: true }
);

const app = express();

//Accept JSON & Url Encoded
app.use(
    bodyParser.urlencoded({
        extended: true
    })
);

app.use(
    bodyParser.json({
        limit: "50mb"
    })
);

//EXPRESS : Express Configuration
app.all("*", (req, res, next) => {
    res.header(
        "Access-Control-Allow-Methods",
        "GET, PUT, DELETE, POST, OPTIONS"
    );
    res.header(
        "Access-Control-Allow-Headers",
        "Origin, X-Requested-With, Content-Type, Accept"
    );
    res.header("Access-Control-Allow-Origin", "*");
    next();
});

// //GET
app.get("/counter/:id", (req, res) => {
    Counter.findOne({ id_Counter: req.params.id }, (err, result) => {
        if (result) {
            res.json({
                number: parseInt(result.nb)
            });
        } else {
            res.json({
                number: 0
            });
        }
    });
});

//SET
app.get("/counter/set/:id/:number", (req, res) => {
    Counter.findOne({ id_Counter: req.params.id }, (err, result) => {
        if (result) {
            result.nb = parseInt(req.params.number);

result.save(err => {
                res.json({ message: "OK" });
            });
        } else {
            let newCounter = new Counter({
                id_Counter: req.params.id,
                nb: parseInt(req.params.number)
            });

newCounter.save(err => {
                res.json({ message: "OK" });
            });
        }
    });
});

//INCREASE
app.get("/counter/increase/:id", (req, res) => {
    Counter.findOne({ id_Counter: req.params.id }, (err, result) => {
        if (result) {
            result.nb = parseInt(result.nb) + 1;

result.save(err => {
                res.json({ message: "OK" });
            });
        } else {
            let newCounter = new Counter({
                id_Counter: req.params.id,
                nb: parseInt(1)
            });

newCounter.save(err => {
                res.json({ message: "OK" });
            });
        }
    });
});

//EXPRESS : Start Server
app.disable("x-powered-by");
app.listen(parseInt(process.env.PORT) || 8000);
After that, you can do a node index.js. This command will expose your app to this port : 8000. (You can change it with an environment variable named PORT).
II. Configure the Button
To do that, you need to go to build.particle.io (Here, I will suppose you have already link your button to a wifi network).

After that you need to add 2 libraries :
 Librairies needed !
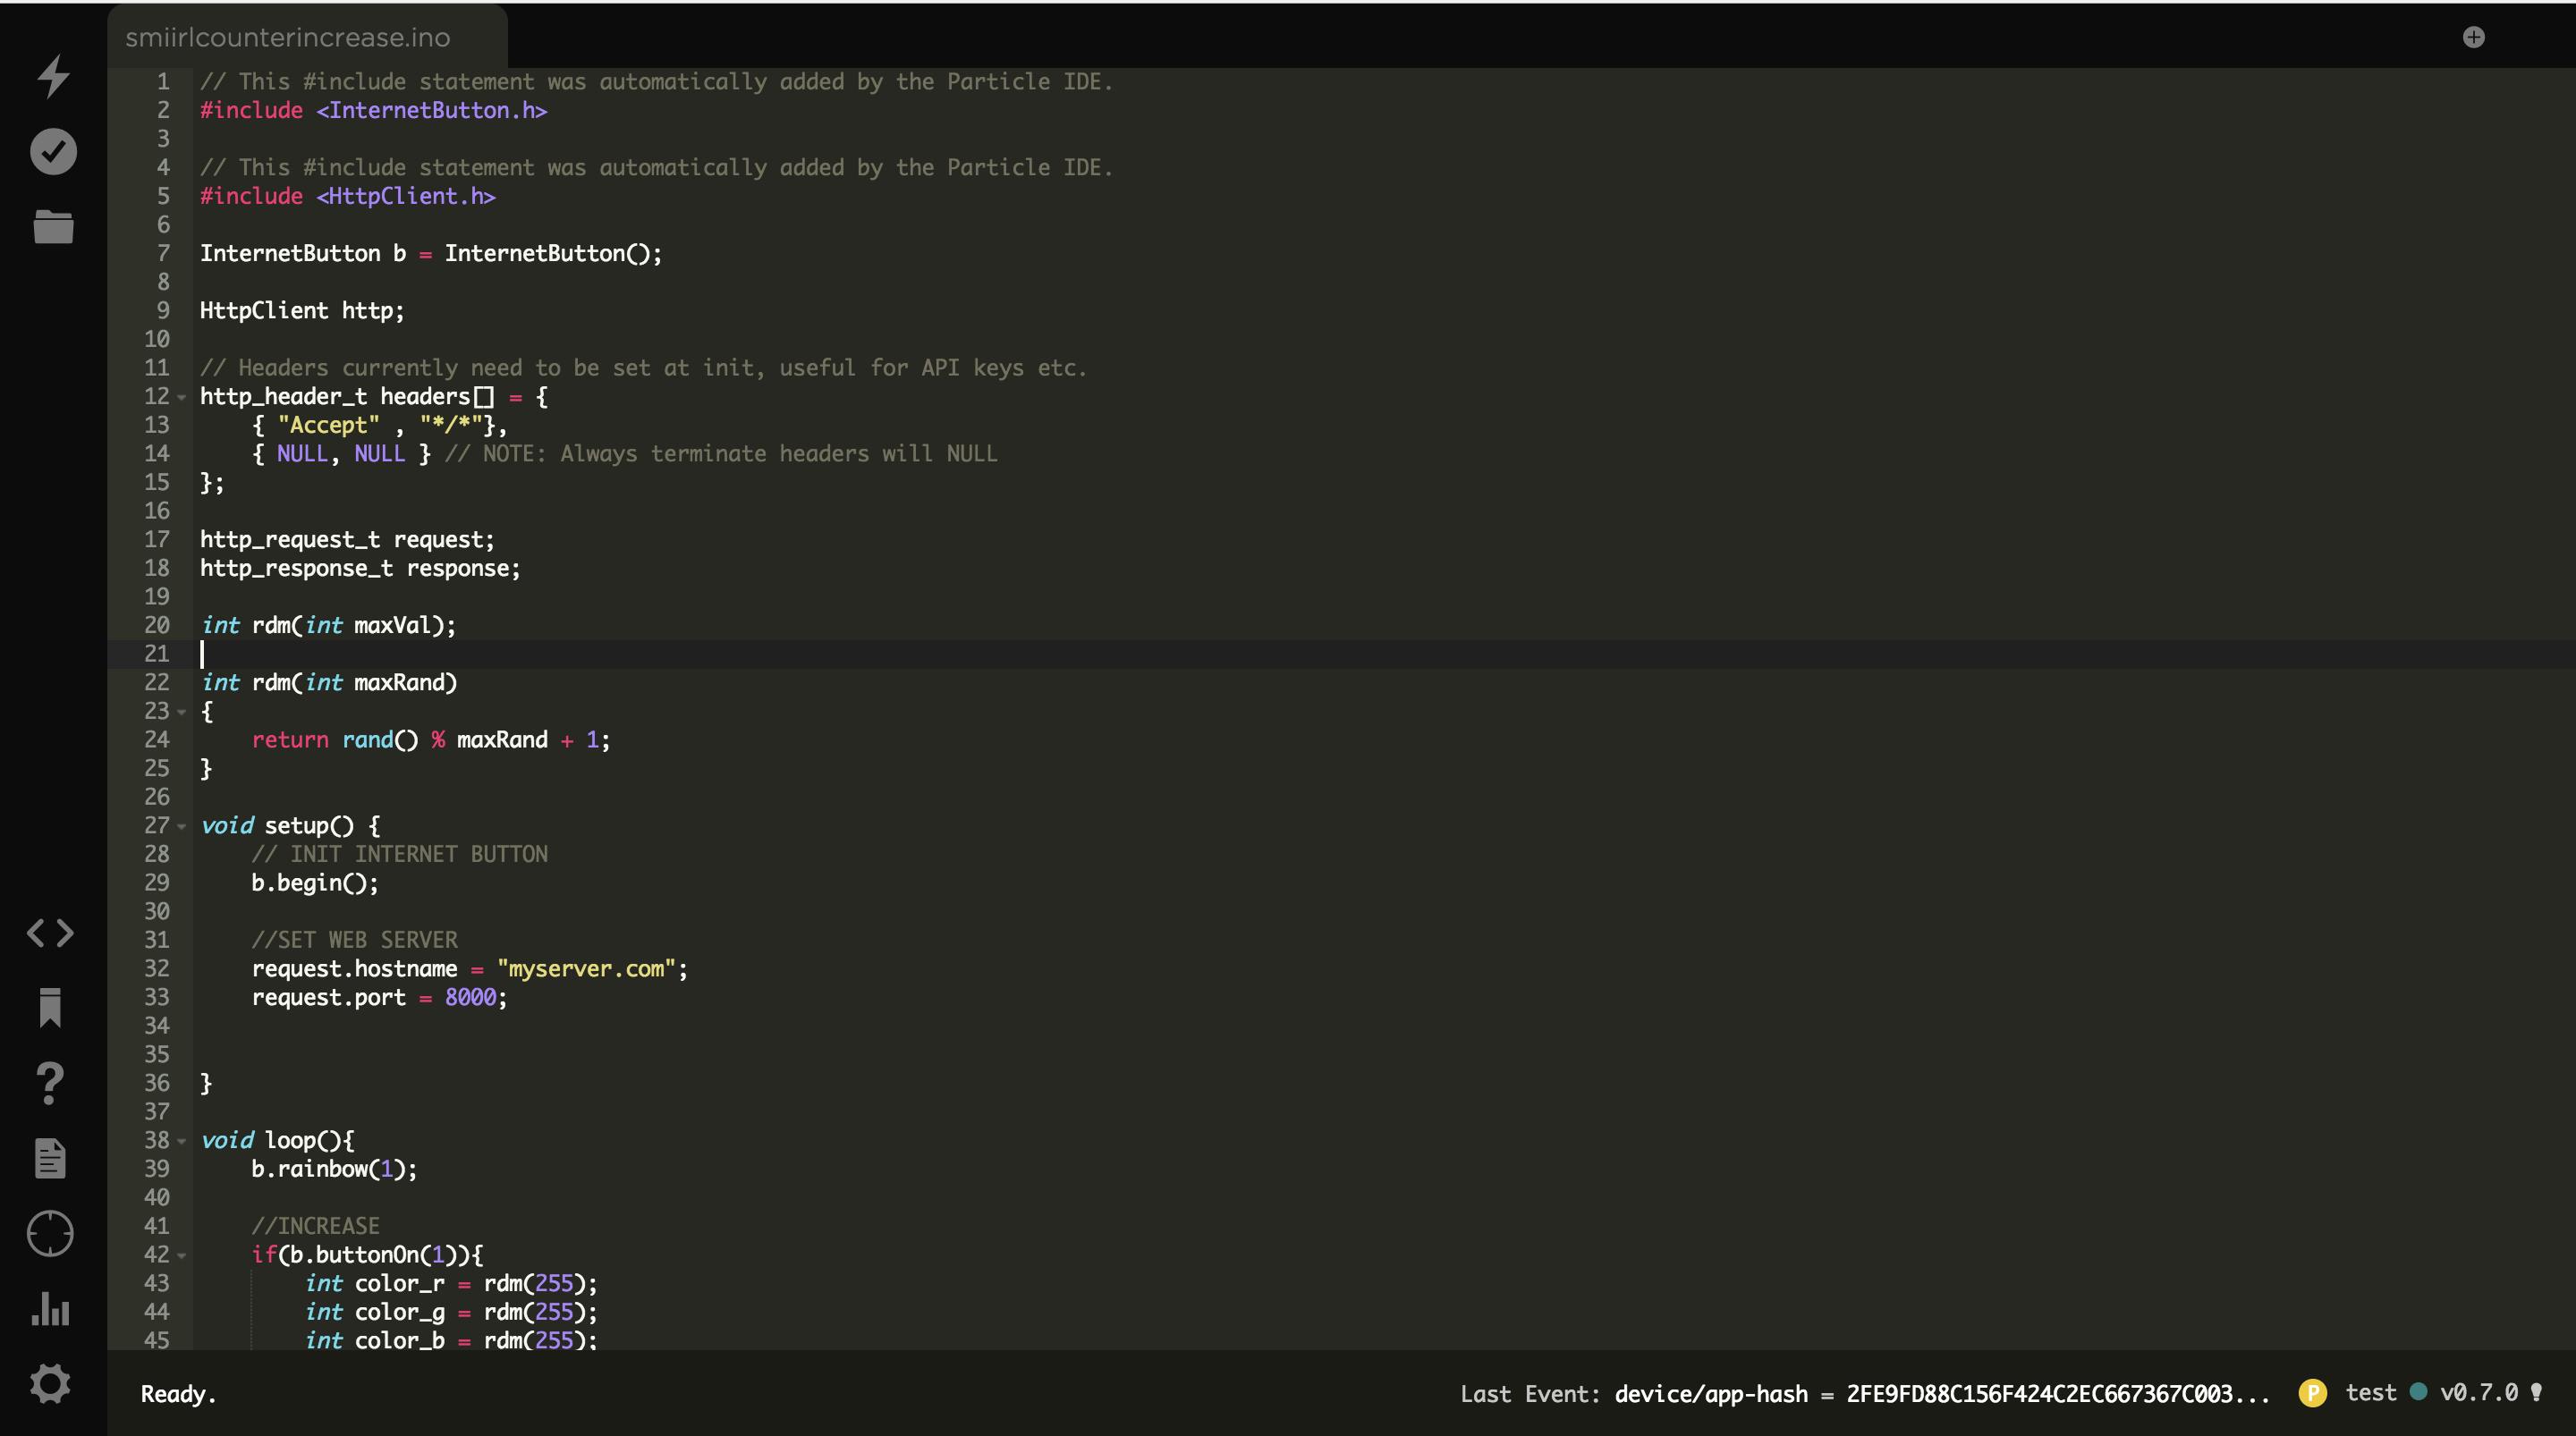
After that you can add on your code this :
// This #include statement was automatically added by the Particle IDE.
#include <InternetButton.h>

// This #include statement was automatically added by the Particle IDE.
#include <HttpClient.h>

InternetButton b = InternetButton();

HttpClient http;

// Headers currently need to be set at init, useful for API keys etc.
http_header_t headers[] = {
    { "Accept" , "*/*"},
    { NULL, NULL } // NOTE: Always terminate headers will NULL
};

http_request_t request;
http_response_t response;

int rdm(int maxVal);

int rdm(int maxRand)
{
    return rand() % maxRand + 1;
}

void setup() {
    // INIT INTERNET BUTTON
    b.begin();

    //YOU NEED TO CHANGE THIS VALUE TO YOUR SERVER IP
    request.hostname = "myserver.com";

    request.port = 8000;


}

void loop(){
    //WHITE COLOR && DECREASE BRIGHTNESS
    b.allLedsOn(255,255,255);
    b.setBrightness(50);

    //INCREASE
    if(b.buttonOn(1) || b.buttonOn(2) || b.buttonOn(3) || b.buttonOn(4)){
        int color_r = rdm(255);
        int color_g = rdm(255);
        int color_b = rdm(255);

        b.allLedsOff();
        b.ledOn(11,color_r, color_g, color_b);
        b.ledOn(1,color_r, color_g, color_b);
        delay(1000);


        request.path = "/counter/increase/mycustomcounter";
        http.get(request, response, headers);

        b.allLedsOff();
    }
}
Now you can save your code and click on flash (This step will put this code on your button).
 Flash Button on build.particle.io
Now we just need to setup our counter !
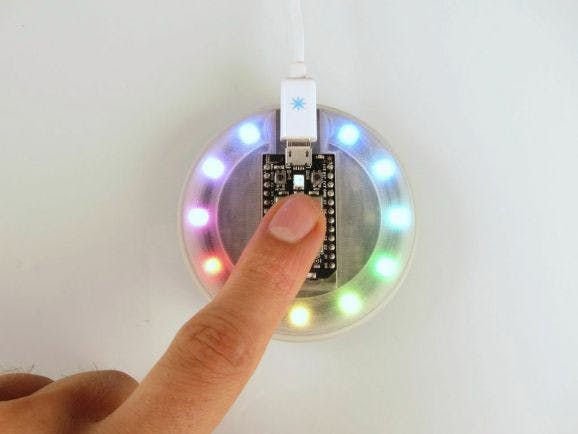
 Our button after flash step !
3. Setup counter
(Here, I will suppose you have already link your counter to a wifi network).
First you need to go to **https://my.smiirl.com. **Enter your credentials and go to your counter page. After that you can enter, your display url from your node.js application. Exemple : http://myserver.com/counter/mycustomcounter

Now it’s your time !
You can click on the button, and your button is increase ! 😍
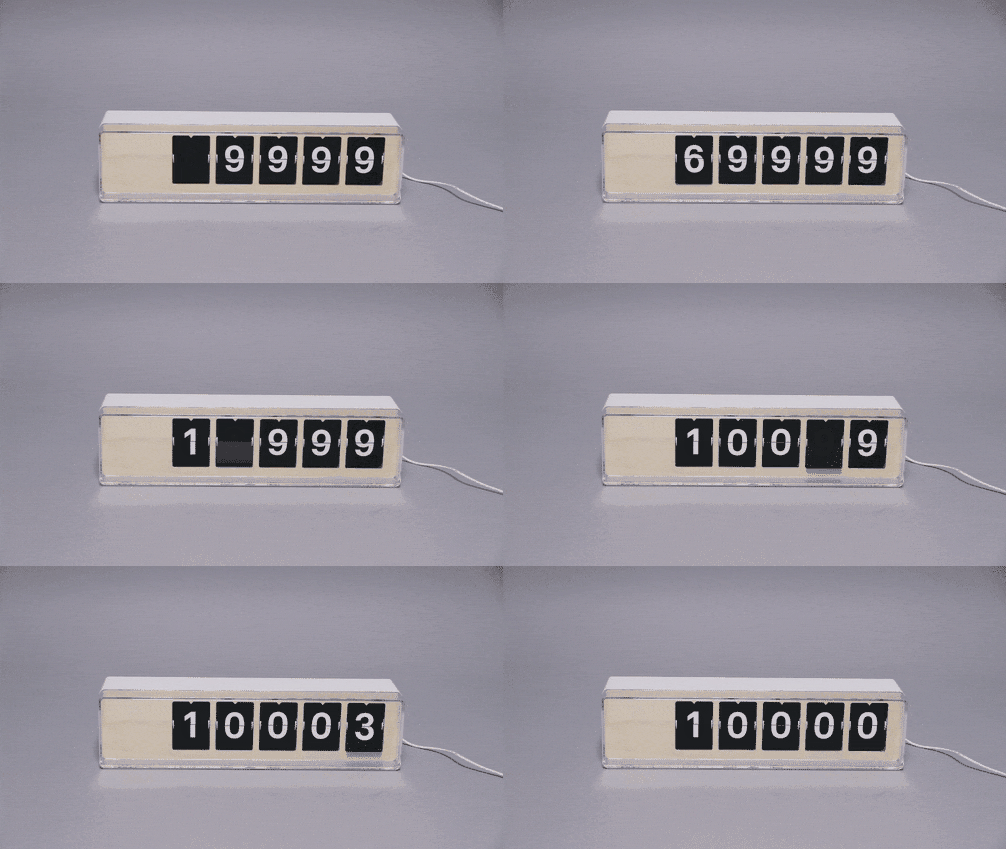
 Smiirl Custom Counter Increase ❤️ when I press button
PS: If you want to reset your number, you can do a http://myserver.com/counter/set/mycustomcounter/1 (You can’t do 0, because Smiirl Counter doesn’t support it.(But you can do 1000000 for 5D or 100000000 for 7D, this will display zero in each flap !))

